Editor’s Picks
Compare the 3 types of MDM GPS tracking (Operational, Security, Compliance) and find the best solution for your fleet, from Microsoft Intune to Prey.
A comprehensive guide to remote device management in today's hybrid workplace. Learn essential strategies, tools and best practices to secure and manage your distributed device fleet effectively.
Lost corporate devices cost far more than hardware. Learn how data exposure, downtime, and ghost devices add up—and how tracking and remote wipes cut those risks.
Discover how geofencing secures business devices with automated control zones. Enforce location-based policies, reduce risks, and support compliance.
Data Security

BitLocker encrypts Windows drives to protect data when devices are lost or stolen—but it won't stop malware or credential theft. Learn how it works, what protectors to use (TPM vs PIN), and how to manage BitLocker at scale.
Learn what remote wipe is, how it works, and why it’s vital to protect sensitive data on lost or stolen devices with secure wipe software.
Protect school-issued devices and student data. Learn key threats, FERPA requirements, and best practices to secure laptops, Chromebooks, and endpoints at scale.
Learn how to protect your Android device with remote wipe options. Discover step-by-step instructions and tips to keep your data safe.
Endpoint Management
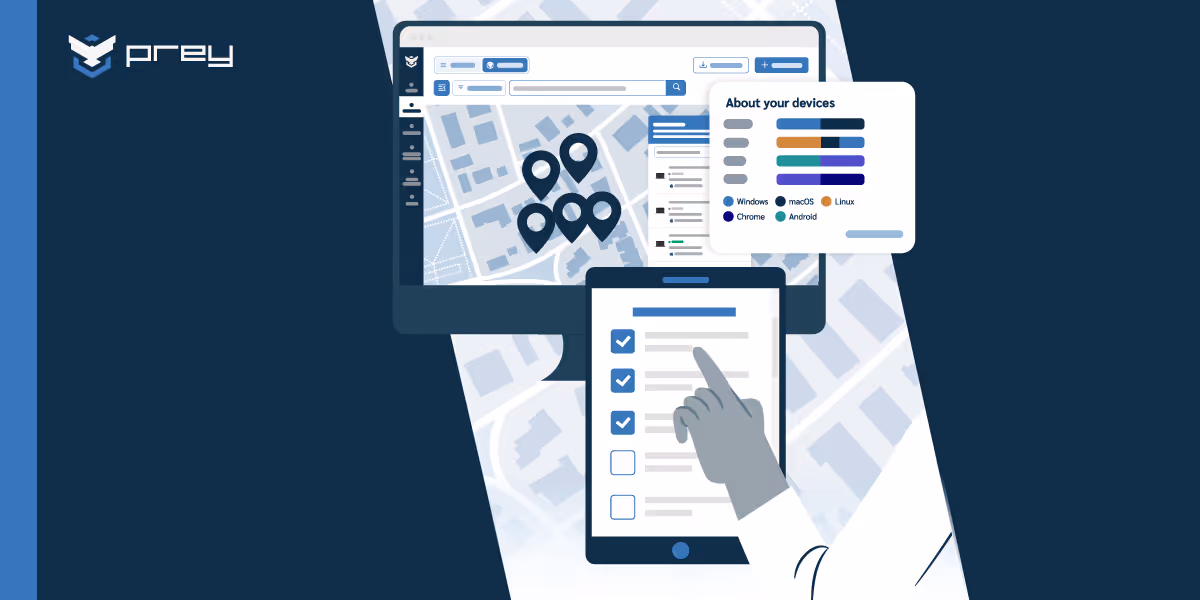
A practical MDM implementation checklist for small businesses — covering device inventory, security setup, emergency response, and maintenance.
Compare the 3 types of MDM GPS tracking (Operational, Security, Compliance) and find the best solution for your fleet, from Microsoft Intune to Prey.
Remote work expands your attack surface. Learn the essential controls—MFA, encryption, endpoint protection, MDM, and lost device response—to stay secure.
Learn what Device Lifecycle Management is, its 5 key stages, benefits, challenges, and best practices to improve ROI, security, and compliance in 2026.
Cyber Threats

Discover what cyber threats are, where they come from, and how to prevent them. Learn about the most common attacks and explore prevention strategies.
Explore the secrets hiding in the dark web with this essential guide for IT leaders. Learn how to improve security and fight online dangers.
The increased autonomy that makes agentic AI so powerful also amplifies existing AI risks while introducing entirely new, unpredictable challenges that demand immediate security attention from organizations and security teams.
AI has already had a huge impact on cybersecurity for both defenders and attackers. But Agentic AI promises an even greater battlefield.
Discover Our E-Books Collection
Explore our diverse range of e-books on various topics.
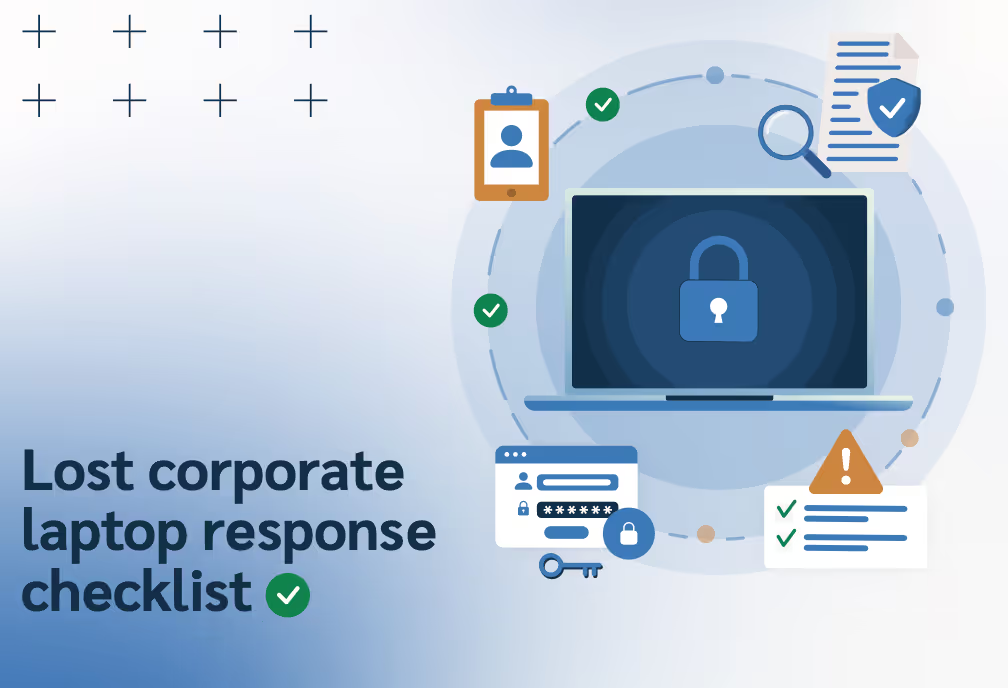
Don’t leave your data security to chance. Get the technical guide to containing, triaging, and reporting lost corporate laptops in under 24 hours.

Stop back-to-school 1:1 device chaos: audit, automate & secure every K-12 laptop with Prey
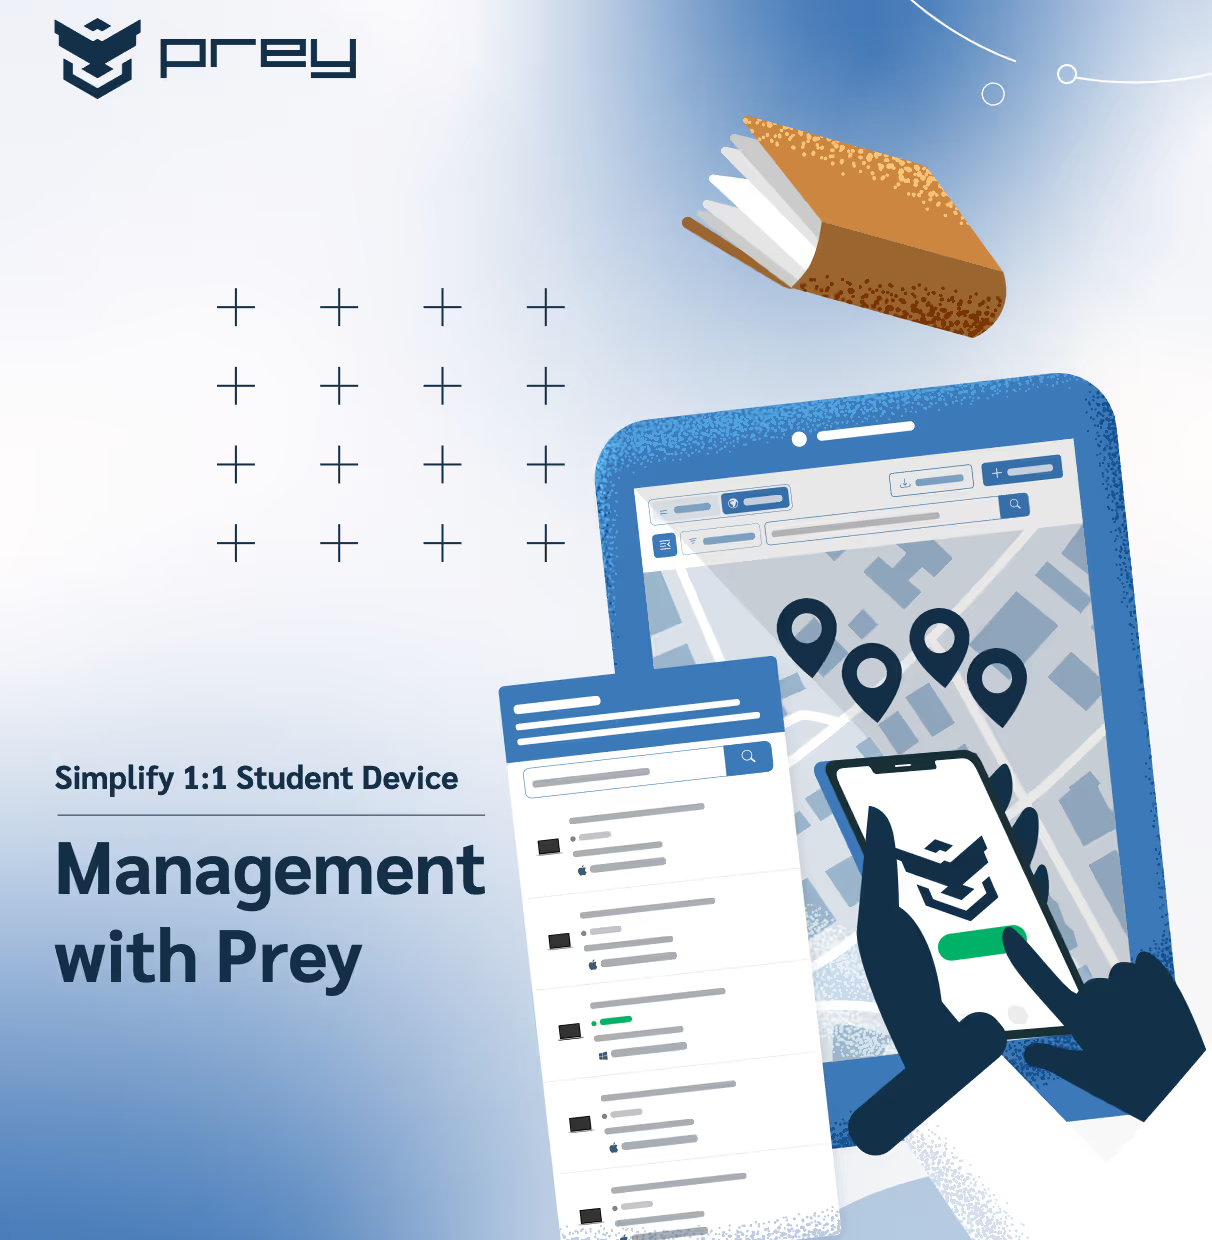
Stop 1:1 device chaos! Prey helps schools track, manage & secure student laptops & tablets. Simplify management, cut losses & stay compliant.